Easy Chocolate Protein Pudding-Healthy Treat
Chocolate Protein Pudding is about to become your new favorite guilt-free indulgence. Are you craving something rich, decadent, and satisfying, but also want to fuel your body with goodness? Then look no further! This incredible Chocolate Protein Pudding recipe delivers on all fronts. It’s the perfect solution for those moments when a sweet tooth strikes, but you’re committed to your fitness goals. Forget chalky textures and bland flavors; this pudding is unbelievably smooth, intensely chocolatey, and packed with the protein power you need to stay full and energized.
Why You’ll Love This
What makes this Chocolate Protein Pudding so special is its incredible versatility and unbelievably simple preparation. It’s a true game-changer for busy individuals who want a healthy dessert or a powerful post-workout treat without compromising on taste. Whether you’re a seasoned fitness enthusiast or just starting your wellness journey, this recipe is designed to impress. Get ready to discover your new go-to dessert that’s as good for you as it tastes!
Chocolate Protein Pudding Recipe
Tired of bland, chalky protein powders or store-bought puddings loaded with sugar? I certainly was! That’s why I set out to create a guilt-free, incredibly decadent chocolate protein pudding that’s not only satisfying but also packs a serious protein punch. This recipe is my go-to for a post-workout treat, a healthy dessert, or even a quick and filling breakfast. It’s so simple to make, you’ll wonder why you didn’t whip it up sooner. The beauty of this pudding lies in its creamy texture and intense chocolate flavor, all thanks to a few simple, wholesome ingredients. Forget the artificial sweeteners and hidden sugars; this recipe relies on natural sweetness and rich cocoa for its irresistible taste.
Ingredients:
Instructions:
Step 1: The Creamy Base Foundation
Begin extract by gathering your main creamy base: the Greek yogurt. You’ll need 5 cups of it. I highly recommend using full-fat Greek yogurt for the richest, most satisfying texture. If you’re watching fat intake, lower-fat versions will work, but the pudding might be slightly less decadent. Whether you choose plain or vanilla Greek yogurt is up to your preference. Plain will give you a purer chocolate flavor, while vanilla will add a subtle, complementary sweetness. Measure out the yogurt into a large mixing bowl. This is where the magic will start to happen, so ensure your bowl is large enough to accommodate all the ingredients as you combine them. A sturdy whisk or a hand mixer will be your best friend for this recipe, so have those ready.
Step 2: Infusing the Chocolate Powerhouse
Next, it’s time to add the star of the show for the chocolate flavor and the protein boost: your chocolate protein powder. You’ll need 4 scoops. The exact measurement in tablespoons can vary depending on the brand and type of protein powder you use, but generally, 2 to 3 tablespoons per scoop is a good estimate. Add the protein powder directly into the bowl with the Greek yogurt. Following that, we’ll add the unsweetened cocoa powder. You’ll want 3 to 4 tablespoons of this. The more cocoa powder you add, the deeper and more intense your chocolate flavor will be. Start with 3 tablespoons and taste-test later if you prefer a stronger chocolate kick. This combination of protein powder and cocoa is what will transform our simple yogurt into a luscious pudding.
Step 3: Enhancing the Flavor Profile
To elevate the chocolate flavor and add that classic pudding aroma, we’ll introduce the vanilla extract. Measure out 1 teaspoon and pour it into the bowl. Vanilla extract is a flavor enhancer that works wonders with chocolate, bringin extractg out its complexity and richness. Don’t skip this step! Now, for a touch of sweetness, we’ll add the maple syrup. Start with 2 tablespoons. Maple syrup provides a natural sweetness that blends beautifully with the other flavors. You can adjust this amount later to suit your personal taste. If you prefer a sweeter pudding, add an extra tablespoon or two. For those aiming for a lower sugar option, you can try using a sugar-free liquid sweetener, but be aware that this might slightly alter the texture and flavor.
Step 4: The Blending and Emulsifying Process
Now comes the fun part: blending everything together to achieve that smooth, pudding-like consistency. This is where your whisk or hand mixer comes into play. If you’re using a whisk, start by gently folding the dry ingredients into the wet ingredients. This initial mixing will help prevent clumps of protein powder and cocoa powder from forming. Once the larger clumps are broken up, begin extract whisking more vigorously. You want to achieve a completely smooth and homogenous mixture. If you’re using a hand mixer, start on a low speed and gradually increase it. You’re aiming to thoroughly combine all the ingredients until no streaks of yogurt, protein powder, or cocoa remain. Be patient during this stage; thorough blending is key to a fantastic texture. Scrape down the sides of the bowl periodically to ensure everything is incorporated.
Step 5: Tasting and Adjusting for Perfection
Once everything is well combined and you have a thick, smooth mixture that resembles pudding, it’s time to taste! Use a clean spoon to sample a small amount. Is the chocolate flavor intense enough for you? If not, add another tablespoon of cocoa powder and whisk again to incorporate. Is it sweet enough? If you desire more sweetness, add another tablespoon of maple syrup (or your preferred sweetener) and stir well. Remember, it’s easier to add more sweetness than to take it away, so start with the recommended amount and adjust gradually. This step ensures your pudding is perfectly tailored to your taste buds.
Step 6: Chilling for Optimal Texture and Flavor Development
While this pudding is delicious served immediately, it truly shines after a period of chilling. Transfer the mixture into individual serving bowls or a single larger container. Cover the bowls or container tightly with plastic wrap or a lid. Place them in the refrigerator for at least 1 to 2 hours. This chilling period is crucial for several reasons. Firstly, it allows the flavors to meld and deepen, creating a more complex and satisfying taste. Secondly, and perhaps most importantly, it allows the pudding to thicken further. The protein powder and yogurt will continue to set, resulting in that perfectly smooth, spoonable pudding texture we’re after. The longer you chill it, the firmer it will become, so feel free to let it chill overnight for an even more solidified consistency.
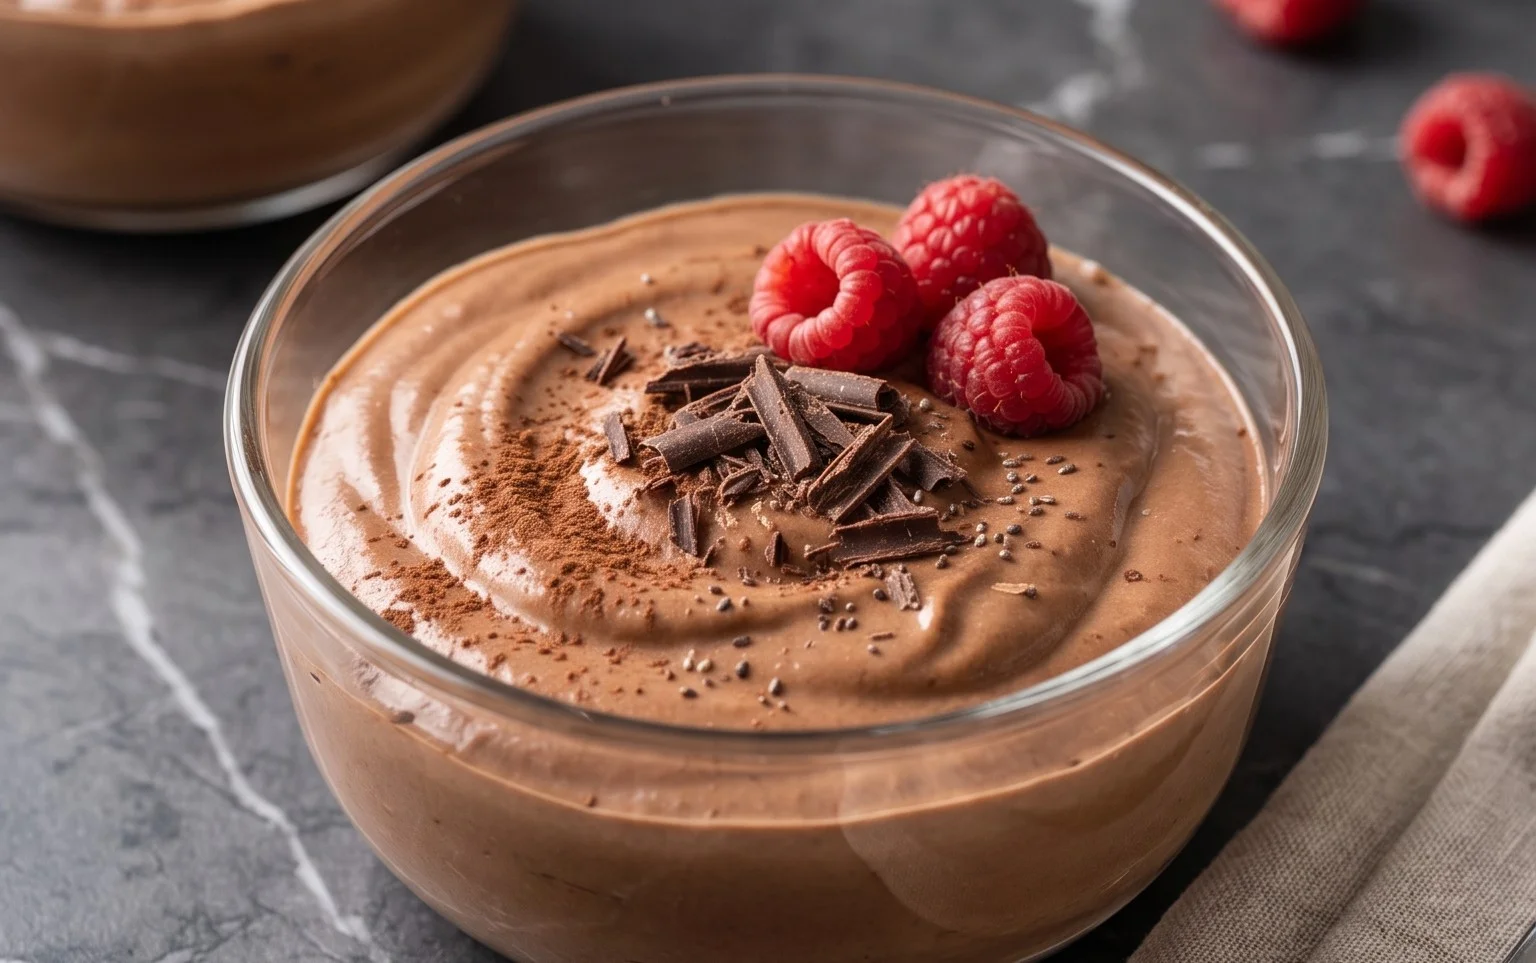
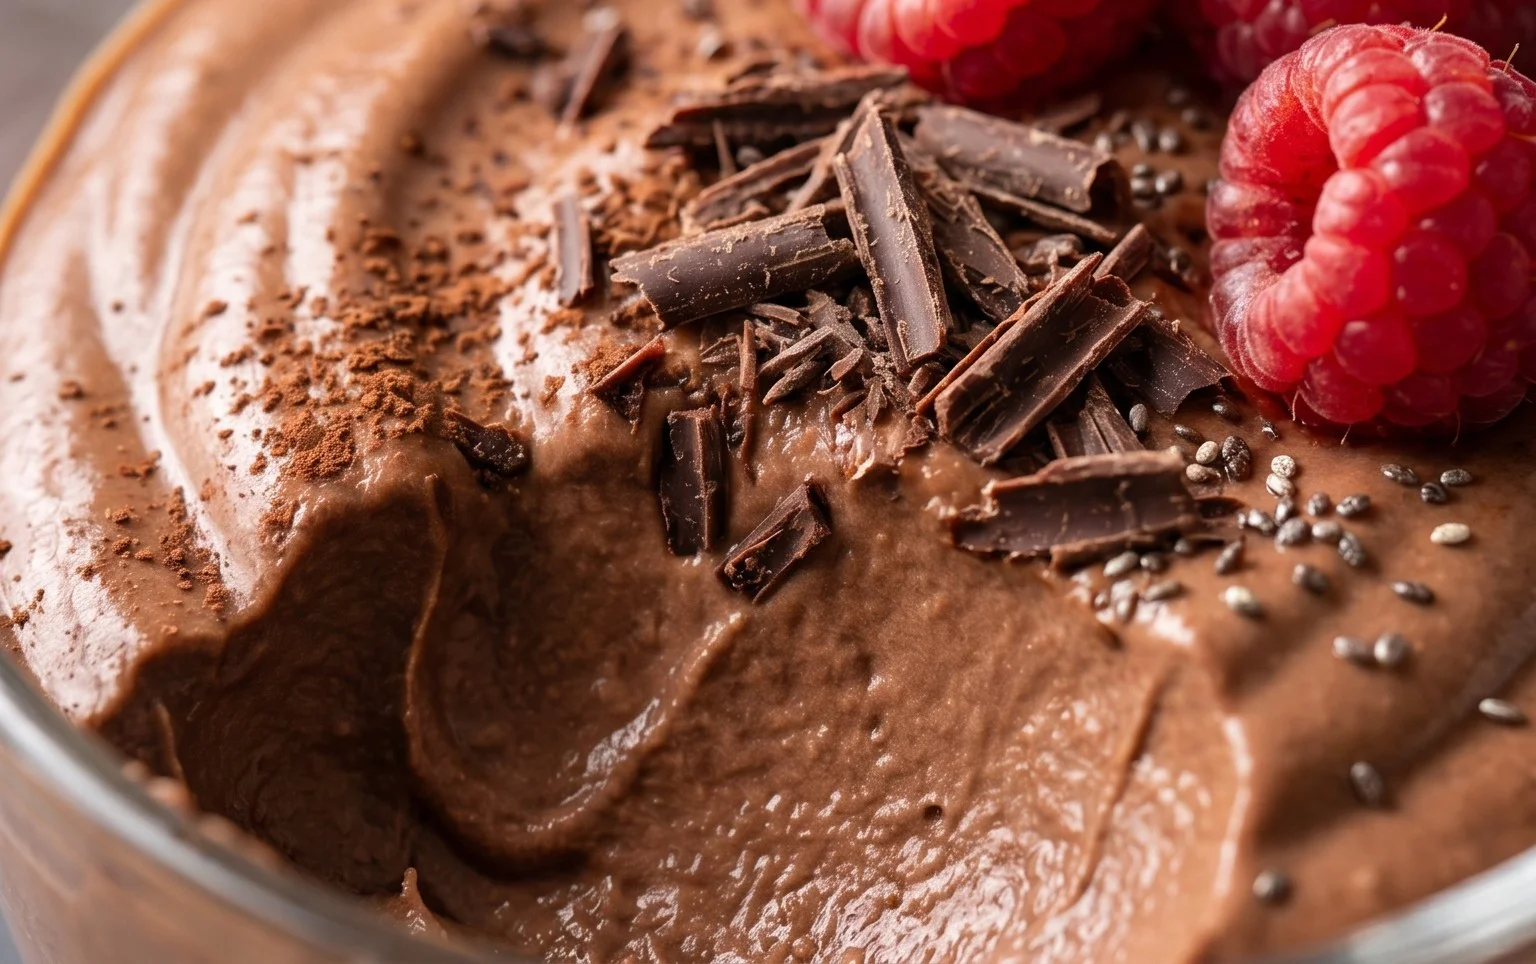
This Chocolate Protein Pudding is incredibly versatile. Enjoy it plain, or get creative with toppings. Fresh berries, a sprinkle of shaved dark chocolate, a dollop of whipped cream (if you’re feeling indulgent), or a scattering of nuts can all take this simple dessert to the next level. It’s a fantastic way to boost your protein intake without sacrificing flavor or enjoyment. I hope you love it as much as I do!
Conclusion:
There you have it – a simple, delicious, and incredibly satisfying Chocolate Protein Pudding that’s perfect for any occasion! I truly hope you give this recipe a try. It’s a fantastic way to satisfy your sweet cravings while also giving your body a boost of protein. Whether you’re looking for a healthy post-workout treat, a guilt-free dessert, or even a quick breakfast option, this chocolate protein pudding is a winner. Its creamy texture and rich chocolate flavor are sure to impress, and the best part is how customizable it is!
Feel free to get creative with your toppings! Fresh berries, a dollop of Greek yogurt, a sprinkle of nuts, or even a drizzle of nut butter can elevate this pudding to the next level. Don’t be afraid to experiment with different protein powders to discover your favorite flavor profile. This recipe is designed to be flexible, so make it your own! I’m confident you’ll find it to be a staple in your healthy recipe repertoire.
Frequently Asked Questions:
What kind of protein powder works best for this chocolate protein pudding?
You can use almost any type of protein powder! Whey, casein, or plant-based protein powders (like pea, soy, or brown rice) all work well. Unflavored or chocolate-flavored protein powders are ideal. If you use a flavored powder, you might want to adjust the cocoa powder amount slightly to achieve your desired chocolate intensity.
Can I make this recipe ahead of time?
Absolutely! This chocolate protein pudding is perfect for meal prepping. It stores beautifully in the refrigerator for 2-3 days. Simply cover individual servings tightly with plastic wrap or transfer to airtight containers. The flavors often meld even more overnight, making it even more delicious!
How can I make the pudding thicker or thinner?
To thicken your pudding, you can add a little more protein powder, a tablespoon of chia seeds (let it sit for a few minutes to gel), or even a small amount of cornstarch or arrowroot powder mixed with a little liquid before heating. To thin it out, simply add more milk or liquid a tablespoon at a time until you reach your desired consistency.
Chocolate Protein Pudding Recipe
A quick and easy chocolate protein pudding made with Greek yogurt and chocolate protein powder, perfect for a healthy dessert or snack.
Ingredients
-
5 cups Greek yogurt (full-fat, plain or vanilla)
-
4 scoops chocolate protein powder
-
3 to 4 tablespoons unsweetened cocoa powder
-
1 teaspoon vanilla extract
-
2 tablespoons maple syrup
Instructions
-
Step 1
In a large bowl, combine the Greek yogurt and chocolate protein powder. -
Step 2
Add the unsweetened cocoa powder and vanilla extract to the bowl. -
Step 3
Pour in the maple syrup for sweetness. -
Step 4
Whisk all ingredients together until thoroughly combined and smooth, ensuring no lumps of protein powder remain. -
Step 5
Cover the bowl and refrigerate for at least 30 minutes to allow the pudding to thicken. -
Step 6
Stir again before serving. Adjust sweetness if necessary.
Important Information
Nutrition Facts (Per Serving)
It is important to consider this information as approximate and not to use it as definitive health advice.
Allergy Information
Please check ingredients for potential allergens and consult a health professional if in doubt.