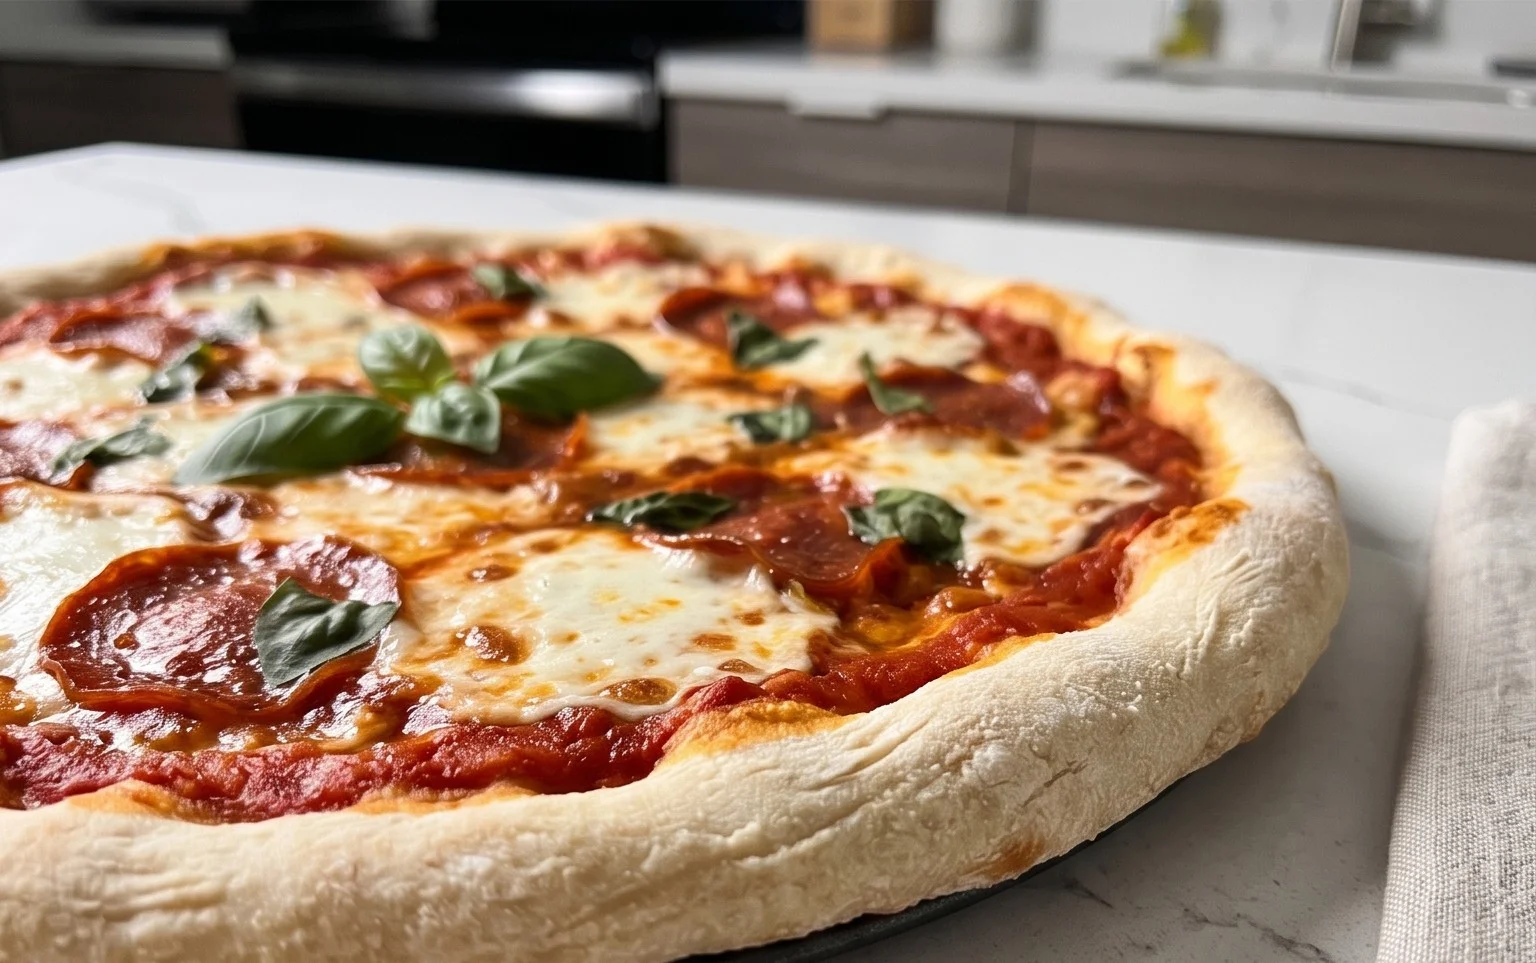
Easy No Yeast Pizza Dough – Quick Homemade Pizza
An excellent no yeast pizza dough is the secret weapon every home cook needs for instant pizza gratification! Forget those long waits for dough to rise or the disappointment of a forgotten packet of yeast. With this recipe, you can whip up delicious, homemade pizza from scratch in a fraction of the time, making “takeout” a thing of the past. People love homemade pizza because it’s customizable, cost-effective, and incredibly satisfying. What makes this particular no yeast pizza dough so special is its incredible ease and speed, without sacrificing that classic chewy, slightly crispy texture we all crave. It’s perfect for those spontaneous weeknight cravings or when unexpected guests pop by. Seriously, get ready to impress yourself and everyone you feed with this game-changin extractg no yeast pizza dough!
An Excellent No Yeast Pizza Dough – Quick, Easy Homemade Pizza!
Craving pizza but don’t have yeast or the time to wait for it to rise? I’ve got you covered! This no-yeast pizza dough recipe is a lifesaver for those spontaneous pizza nights or when you’re simply short on time. It’s incredibly easy to whip up, requiring just a few pantry staples and minimal effort. The result is a delightful, slightly chewy crust with a satisfying crispness, perfect for all your favorite toppings. Forget store-bought dough; this homemade version is far superior and surprisingly forgiving. Let’s get started on creating your perfect pizza!
Ingredients:
Instructions:
1. Combine Dry Ingredients: In a medium-sized mixing bowl, begin extract by whisking together your dry ingredients. Add the 1 1/3 cups of bread flour, 2 teaspoons of baking powder, 3/4 teaspoon of salt, and 3/4 teaspoon of sugar. Whisking these together thoroughly ensures that the leavening agent (baking powder) and salt are evenly distributed throughout the flour. This is crucial for a consistent rise and flavor in your crust. Make sure there are no pockets of baking powder or salt. If you’re using all-purpose flour, don’t worry; it will still work beautifully, though bread flour often yields a slightly chewier texture due to its higher protein content.
2. Incorporate Wet Ingredients and Form Dough: Next, create a small well in the center of your dry ingredients. Pour in the 2 teaspoons of olive oil and 1/2 cup of cold tap water. Begin extract to mix everything together with a fork or a spatula until a shaggy dough starts to form. Once it becomes too difficult to mix with the fork, lightly flour your hands with a little of the extra flour and start to bring the dough together in the bowl. Continue to gently knead the dough within the bowl for about 1-2 minutes, just until it forms a cohesive ball. The key here is not to overwork the dough. We are not developing gluten like we would with yeast dough; we simply want to bring it together. It should be slightly sticky but manageable. If it feels too wet, add a tiny bit more flour, a tablespoon at a time. If it seems too dry, add a teaspoon of water.
3. Shape and Prepare for Toppings: Lightly dust your work surface with the remaining extra flour. Turn the dough out onto the floured surface. Gently shape the dough into a round disc. You can do this by hand, pressing it outwards from the center, or by using a rolling pin. Aim for a thickness of about 1/4 to 1/2 inch, depending on your preference for crust thickness. If you like a thin and crispy crust, roll it out thinner. For a slightly more substantial crust, leave it a bit thicker. If the dough springs back a lot, let it rest for 5 minutes before continuing to shape. This is a quick dough, so it won’t be as elastic as a yeast dough, but it’s still good to be patient.
4. Pre-Baking the Crust (Optional but Recommended): For an even crispier crust, I highly recommend pre-baking the dough before adding your toppings. Carefully transfer your shaped pizza dough to a baking sheet lined with parchment paper or a pizza stone. Prick the surface of the dough all over with a fork. This prevents large bubbles from forming during the initial bake. Bake in a preheated oven at 400°F (200°C) for about 5-7 minutes, or until the crust is lightly golden and slightly puffed. This initial bake sets the crust and prevents it from becoming soggy under the weight of your sauce and toppings.
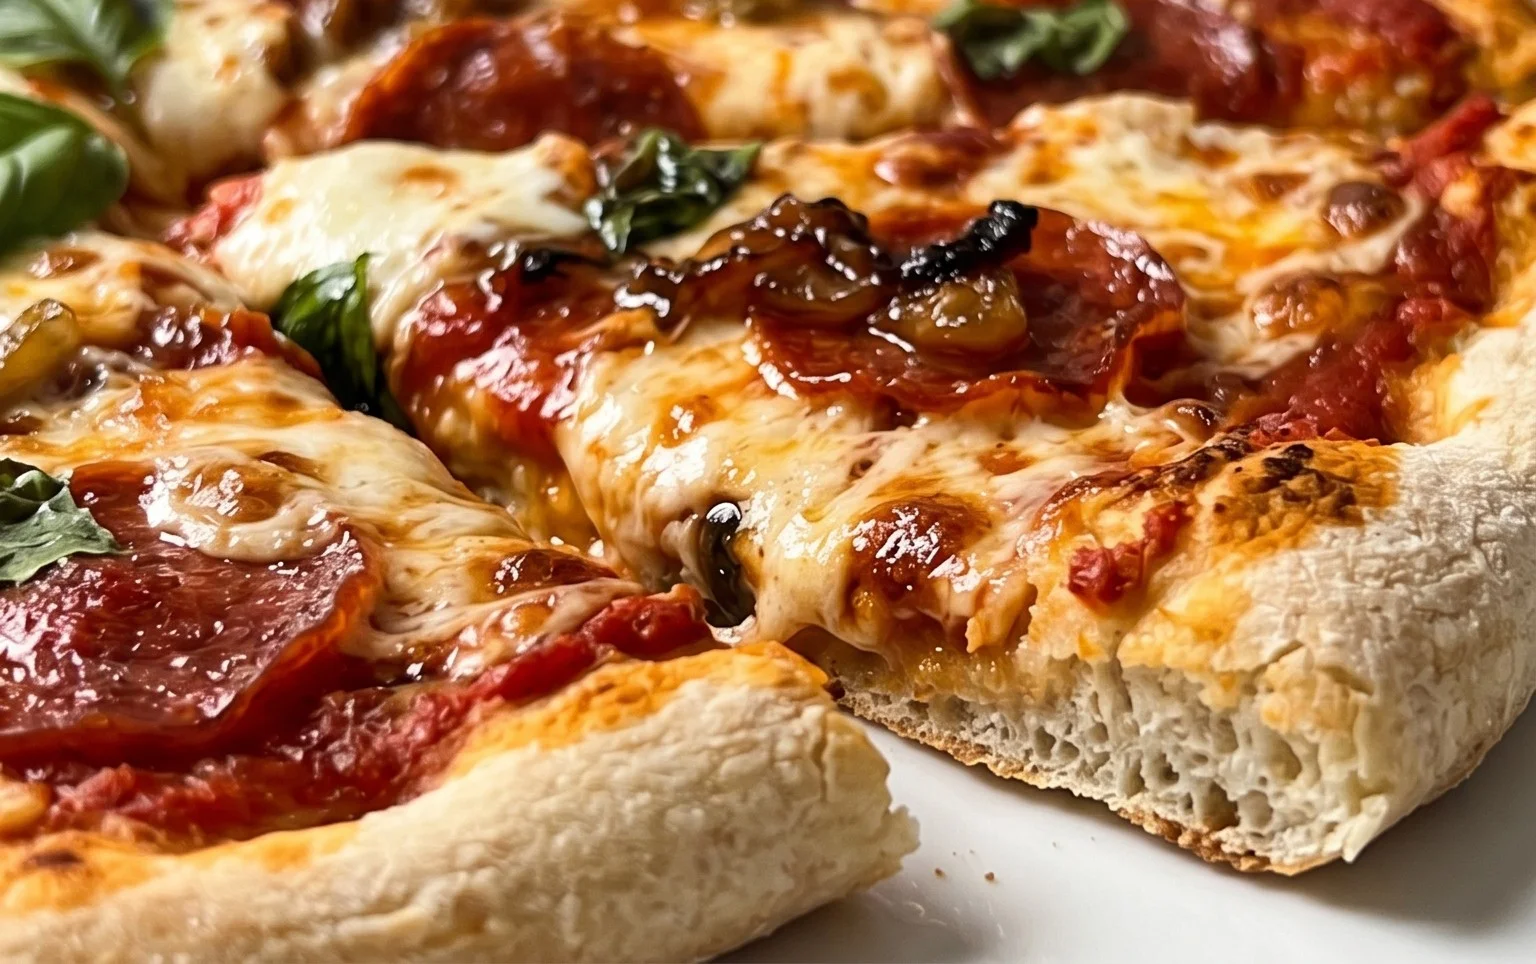
5. Top and Final Bake: Once the crust has had its initial bake (or if you’ve skipped pre-baking), remove it from the oven. Now comes the fun part – adding your favorite pizza sauce, cheese, and toppings! Spread your sauce evenly, leaving a small border for the crust. Sprinkle generously with cheese and arrange your desired toppings. If you’re using the optional vegetable oil, now is the time to lightly brush the edges of your crust with it. This will give the crust a lovely golden sheen and a touch of extra crispiness. Return the pizza to the oven and bake for another 10-15 minutes, or until the cheese is melted and bubbly and the crust is golden brown and cooked through. Keep an eye on it, as oven temperatures can vary.
Enjoy your delicious, homemade no-yeast pizza! This recipe is so versatile, perfect for a quick weeknight dinner or an easy appetizer. The lack of yeast means no waiting, just pure pizza joy!
Conclusion:
There you have it – your guide to creating an excellent No Yeast Pizza Dough that’s both quick and incredibly easy! This recipe truly shines because it eliminates the waiting time typically associated with yeast-based doughs, making homemade pizza a spontaneous and accessible treat. Within minutes, you can have a perfectly pliable dough ready for your favorite toppings. The beauty of this no-yeast dough lies in its simplicity and versatility, ensuring a delightful pizza night without the fuss.
Now, let’s talk about what to do with your fantastic creation! This dough is wonderful as a base for classic Margherita, loaded with beef pepperoni and mushrooms, or even used for a white pizza with ricotta and spinach. Don’t be afraid to get creative with your toppings! For a touch of elegance, consider a beef prosciutto and arugula finish, or for something richer, try a BBQ chicken pizza. The possibilities are truly endless.
I truly encourage you to give this recipe a try. You’ll be amazed at how simple it is to achieve delicious, restaurant-quality pizza right in your own kitchen. It’s perfect for busy weeknights or casual get-togethers.
Frequently Asked Questions:
Can I make this dough ahead of time?
Yes, you absolutely can! Once the dough is mixed and kneaded, you can wrap it tightly in plastic wrap and refrigerate it for up to 2 days. Let it come to room temperature for about 30 minutes before shaping for the best results.
What if I don’t have baking powder?
While baking powder is key to the leavening in this no-yeast dough, you can experiment with self-rising flour, which already contains leavening agents. However, the texture might be slightly different, so it’s always best to stick to baking powder for this specific recipe’s intended outcome.
An excellent No Yeast Pizza Dough – quick easy homemade pizza!
A quick and easy no-yeast pizza dough recipe perfect for homemade pizza.
Ingredients
-
1 1/3 cups bread flour ((or plain / all purpose flour, Note 2))
-
2 tsp baking powder
-
3/4 tsp salt
-
3/4 tsp sugar
-
2 tsp olive oil ((or any other oil))
-
1/2 cup water ((cold tap water))
-
1 tbsp Extra Flour (, for dusting)
-
2 tsp vegetable oil (optional) (, for brushing crust (or canola or other neutral oil) (Note 3))
Instructions
-
Step 1
In a large bowl, whisk together the bread flour, baking powder, salt, and sugar. -
Step 2
Add the olive oil and cold water to the dry ingredients. -
Step 3
Mix with a spoon or spatula until a shaggy dough forms. Then, turn out onto a lightly floured surface. -
Step 4
Knead the dough for about 5-7 minutes until it is smooth and elastic. Add a little extra flour if it’s too sticky. -
Step 5
Shape the dough into a ball, cover with a clean towel, and let it rest for 10 minutes. -
Step 6
Roll or stretch the dough to your desired pizza shape and thickness. Add your favorite toppings and bake according to your pizza recipe. -
Step 7
If desired, brush the crust with vegetable oil before baking for added crispiness.
Important Information
Nutrition Facts (Per Serving)
It is important to consider this information as approximate and not to use it as definitive health advice.
Allergy Information
Please check ingredients for potential allergens and consult a health professional if in doubt.