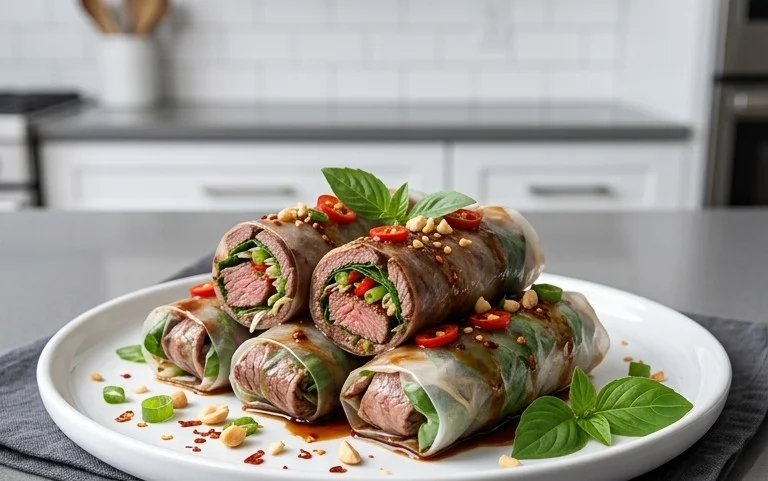
Smoked Shotgun Shells – Easy Smoker Appetizer Recipe
Smoked Shotgun Shells are the ultimate crowd-pleaser, a flavor explosion that will have everyone beggin extractg for more. These aren’t your average appetizers; they’re a culinary adventure wrapped in deliciousness. Imagin extracte tender pasta tubes, lovingly stuffed with a savory, creamy, and slightly spicy cheese mixture, then meticulously wrapped in crispy beef bacon. The magic truly happens when these flavor bombs hit the smoker. The gentle kiss of wood smoke infuses every bite with an irresistible depth, transforming simple ingredients into something extraordinary. It’s this unique combination of smoky goodness, satisfying textures, and an approachable yet impressive presentation that makes Smoked Shotgun Shells a legend at barbecues, game days, and any gathering where good food is celebrated. Get ready to wow your guests!
Why You’ll Love These Smoked Shotgun Shells
Prepare for a Flavor Revelation
Smoked Shotgun Shells
Get ready to impress your friends and family with these incredibly flavorful and fun Smoked Shotgun Shells. They’re a guaranteed crowd-pleaser, perfect for game days, tailgating, or just a fantastic weekend cookout. The name itself is a bit of a playful nod to their shape and the smoky deliciousness they deliver. We’re taking classic manicotti and giving it a savory, smoky makeover that’s out of this world.
Ingredients:
Preparation and Filling
The first step to these delightful shotgun shells is preparing the luscious filling. This is where all the big flavors come together. In a large skillet over medium-high heat, we’re going to brown our ground beef and hot Italian sausage. Make sure to break up the meat as it cooks to ensure it’s evenly browned. Once the meat is fully cooked and no pink remains, drain off any excess grease. It’s important to get as much grease out as possible to prevent the filling from becoming too oily.
After draining the meat, add the finely diced medium onion to the same skillet. Cook the onion until it becomes translucent and tender, about 5-7 minutes. The softened onion will add a subtle sweetness and depth to the filling. Now, return the drained meat to the skillet.
In a separate bowl, combine the softened cream cheese, shredded sharp cheddar cheese, the finely diced jalapeno, Slap Ya Mama seasoning, garlic powder, black pepper, red pepper flakes, and the ⅓ cup of barbecue sauce. Mix this all together until it’s well combined and creamy. The jalapeno will provide a pleasant little kick, which is balanced by the cream cheese and cheddar. If you’re sensitive to heat, you can always reduce the amount of jalapeno or remove the seeds before dicing.
Now, it’s time to marry the meat mixture with our cheese and spice blend. Add the meat and onion mixture to the bowl with the cheese and spice blend. Stir everything together thoroughly until all the ingredients are evenly distributed. This filling is going to be rich, savory, and packed with flavor.
Assembling the Shotgun Shells
While you’re working on the filling, make sure to get your manicotti shells ready. You’ll need to cook them according to package directions, but be careful not to overcook them. We want them to be al dente, meaning they still have a slight bite to them, as they will continue to cook on the smoker. Once cooked, drain them well and rinse them with cool water. This helps to stop the cooking process and prevents them from sticking together.
Now comes the fun part: filling the shells. This can be a little tricky, but a small spoon or a piping bag (if you have one) works wonders. Carefully spoon or pipe the meat and cheese mixture into each cooked manicotti shell. Don’t be shy with the filling – you want them to be generously stuffed! We’re aiming for maximum deliciousness in every bite.
The next crucial step is wrapping the filled shells in beef beef bacon. This is where the magic happens and they earn their name! Take a strip of beef beef bacon and wrap it snugly around each filled manicotti shell, overlapping slightly. You’ll likely need to use toothpicks to secure the beef bacon in place. Be generous with your beef bacon wrapping; this is what gives them that amazing smoky flavor and crispy texture. If you find that two pieces of beef bacon are needed to completely encase a shell, don’t hesitate to use them. We want full coverage for optimal flavor!
Smoking to Perfection
Preheat your smoker to 225-250 degrees Fahrenheit. This low and slow temperature is key to getting the beef bacon perfectly crispy and infusing the shells with that deep, smoky flavor.
Once your smoker is at temperature, carefully arrange the beef bacon-wrapped shotgun shells on your smoker grates. Make sure they have a little space between them so the smoke can circulate evenly around each shell.
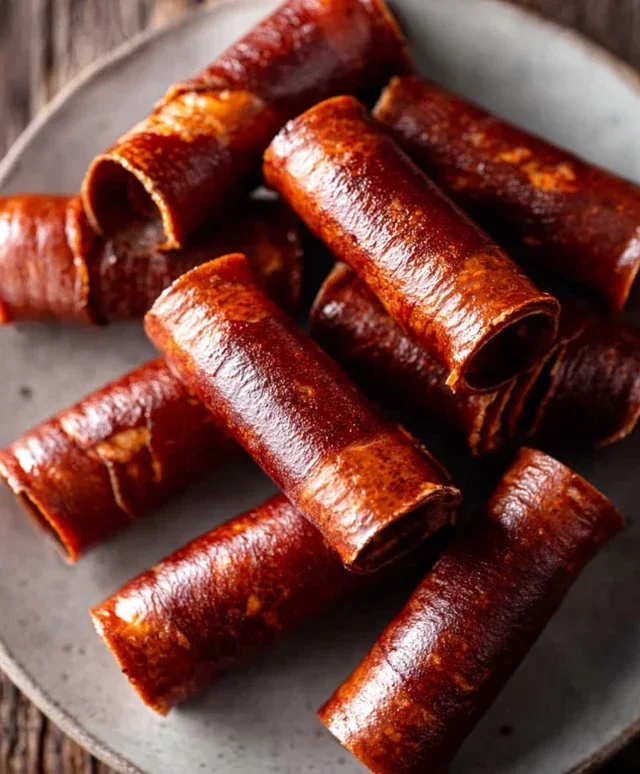
Now, the waiting game begin extracts, but it’s a delicious one! Smoke the shotgun shells for approximately 2 to 2.5 hours, or until the beef bacon is rendered and crispy, and the filling is heated through and bubbly. You’ll want to keep an eye on them and rotate them if necessary to ensure even cooking.
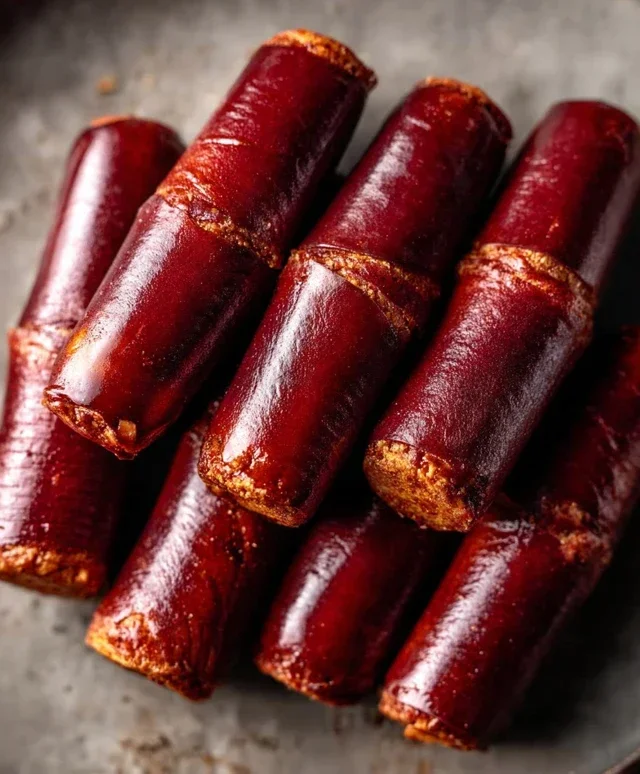
Towards the end of the smoking time, you can brush them with your favorite barbecue sauce. This adds an extra layer of sweet and tangy flavor that complements the smoky beef bacon and savory filling perfectly. Be careful not to apply too much sauce too early, as it can burn. A light coating in the last 30-45 minutes is usually ideal.
Once they’re done, carefully remove the shotgun shells from the smoker. Let them rest for a few minutes before serving. The aroma alone will be enough to make your mouth water! Serve these Smoked Shotgun Shells hot and get ready for rave reviews. They are truly a taste sensation.
Conclusion:
There you have it – a foolproof guide to creating absolutely delicious Smoked Shotgun Shells! This recipe is a true crowd-pleaser, offering a fantastic balance of savory, cheesy, and smoky flavors all wrapped up in a delightful pasta shell. They’re surprisingly easy to make, yet they deliver that impressive, restaurant-quality taste that will have your guests beggin extractg for more. The beautiful golden-brown exterior from the smoker, combined with the juicy, flavorful interior, makes these a standout appetizer or a hearty side dish that’s sure to be a hit at any gathering, from game days to backyard barbecues.
For serving, consider pairing them with your favorite barbecue sauce for dipping, a cool, creamy ranch dressing, or even a light, zesty salsa. They also make a fantastic addition to a larger spread of smoked meats or appetizers. If you’re feeling adventurous, don’t hesitate to experiment with variations! You can swap out the cheese for a spicy pepper jack, add some finely diced jalapeños to the filling for an extra kick, or even incorporate different types of ground meat like sausage or a blend of beef and beef. The possibilities are truly endless.
I truly encourage you to give these Smoked Shotgun Shells a try. They are a fun, flavorful, and rewarding recipe that’s guaranteed to impress. Don’t be intimidated by the smoking process; it adds a depth of flavor that’s simply unparalleled. Get out there, fire up that smoker, and enjoy the process and the delicious results!
Frequently Asked Questions:
Can I make these ahead of time?
Yes, you absolutely can! You can assemble the Smoked Shotgun Shells a day in advance and store them, covered, in the refrigerator. When you’re ready to cook, you may need to add a few extra minutes to the smoking time to ensure they’re heated through completely.
What if I don’t have a smoker?
While the smoker provides that signature flavor, you can adapt this recipe for an oven. Bake them at around 375°F (190°C) until the pasta is tender and the cheese is melted and bubbly, approximately 30-40 minutes. You might want to add a little liquid smoke to the filling for a hint of that smoky essence.
Smoked Shotgun Shells
A savory and spicy smoked appetizer featuring manicotti shells filled with a seasoned beef and sausage mixture, wrapped in beef bacon, and coated in barbecue sauce.
Ingredients
-
{‘@type’: ‘Ingredient’, ‘name’: ‘manicotti shells’, ‘description’: ‘2 (8 ounce) boxes’}
-
{‘@type’: ‘Ingredient’, ‘name’: ‘ground beef’, ‘description’: ‘1½ pound’}
-
{‘@type’: ‘Ingredient’, ‘name’: ‘hot Italian sausage’, ‘description’: ‘1 pound’}
-
{‘@type’: ‘Ingredient’, ‘name’: ‘medium onion’, ‘description’: ‘finely diced’}
-
{‘@type’: ‘Ingredient’, ‘name’: ‘sharp cheddar cheese’, ‘description’: ‘2 cups’}
-
{‘@type’: ‘Ingredient’, ‘name’: ‘cream cheese’, ‘description’: ‘6 ounce’}
-
{‘@type’: ‘Ingredient’, ‘name’: ‘jalapeno’, ‘description’: ‘finely diced’}
-
{‘@type’: ‘Ingredient’, ‘name’: ‘Slap Ya Mama seasoning’, ‘description’: ‘2 teaspoons’}
-
{‘@type’: ‘Ingredient’, ‘name’: ‘garlic powder’, ‘description’: ‘2 teaspoons’}
-
{‘@type’: ‘Ingredient’, ‘name’: ‘black pepper’, ‘description’: ‘2 teaspoon’}
-
{‘@type’: ‘Ingredient’, ‘name’: ‘red pepper flakes’, ‘description’: ‘1 teaspoon’}
-
{‘@type’: ‘Ingredient’, ‘name’: ‘barbecue sauce’, ‘description’: ‘⅓ cup, plus additional for coating’}
-
{‘@type’: ‘Ingredient’, ‘name’: ‘beef bacon’, ‘description’: ‘2 (16 ounce) packages, potentially more’}
Instructions
-
Step 1
Cook manicotti shells according to package directions until al dente. Drain and set aside. -
Step 2
In a large bowl, combine ground beef, Italian sausage, diced onion, cheddar cheese, cream cheese, diced jalapeno, Slap Ya Mama seasoning, garlic powder, black pepper, red pepper flakes, and ⅓ cup of barbecue sauce. Mix thoroughly until well combined. -
Step 3
Carefully stuff each cooked manicotti shell with the meat mixture. Be generous. -
Step 4
Cut the beef bacon strips in half lengthwise. Wrap each stuffed manicotti shell with a piece of beef bacon, securing it tightly. You may need to overlap or use toothpicks to hold them in place if they don’t wrap fully. -
Step 5
Preheat your smoker to 225°F (107°C). -
Step 6
Arrange the bacon-wrapped shells on a cooling rack placed over a baking sheet. Brush generously with additional barbecue sauce. -
Step 7
Smoke for 1.5 to 2 hours, or until the bacon is crispy and the internal temperature of the meat mixture reaches 165°F (74°C). -
Step 8
Let cool slightly before serving. Reapply barbecue sauce for extra glaze if desired.
Important Information
Nutrition Facts (Per Serving)
It is important to consider this information as approximate and not to use it as definitive health advice.
Allergy Information
Please check ingredients for potential allergens and consult a health professional if in doubt.