Juicy Tri Tip Two Ways- Grill Roast Recipe
Tri tip, that incredibly flavorful and surprisingly tender cut of beef, is a true grilling cbeef hampion. But what if I told you this star of summer cookouts could be even more versatile than you imagin extracted? I’ve always been a huge fan of tri tip for its rich, beefy taste and its ability to take on marinades like a dream. It’s the perfect canvas for smoky, grilled goodness, and the way it carves so beautifully makes it ideal for feeding a crowd. What truly elevates this cut, however, is its inherent tenderness when cooked just right, offering a satisfying chew without being tough. Today, we’re diving deep into the world of tri tip by exploring not just one, but two absolutely delicious ways to prepare it. Get ready to discover new favorite recipes for this beloved cut of beef!
Tri-Tip: Two Delicious Ways to Master This Versatile Cut
The tri-tip roast, a triangular-shaped cut from the bottom sirloin of the cow, is a true gem in the world of beef. Known for its incredible flavor and tenderness when cooked correctly, it’s surprisingly affordable and lends itself beautifully to a variety of preparations. Today, I’m excited to share two of my favorite ways to cook a tri-tip: a classic reverse-sear method that yields a perfectly uniform medium-rare throughout, and a bold, marinated grilling approach that delivers smoky char and juicy results. Whichever method you choose, the result is a succulent, flavorful roast that will have everyone asking for seconds.
Ingredients:
Method 1: The Reverse Sear – For Unparalleled Evenness
This method is all about patience and precise temperature control. It’s a fantastic way to ensure every single bite of your tri-tip is cooked to your desired level of doneness, without the common issue of an overcooked outer layer and an undercooked center.
Preparation for Reverse Sear
1. Pat and Season Generously
First things first, take your tri-tip roast out of its packagin extractg and give it a good pat-down with paper towels. Getting the surface as dry as possible is key to achieving a beautiful, flavorful crust later on. In a small bowl, combine the garlic salt, Lawry’s seasoning salt, kosher salt, black pepper, sugar, garlic powder, and parsley. This is our flavor powerhouse! Evenly coat the entire tri-tip roast with this seasoning blend, gently pressing it into the meat. Don’t be shy; a good rub is essential for developing a delicious exterior.
2. Low and Slow Oven Cooking
Preheat your oven to a modest 225 degrees Fahrenheit (107 degrees Celsius). Place the seasoned tri-tip on a wire rack set inside a baking sheet. This allows air to circulate around the roast, promoting even cooking. Insert a reliable meat thermometer into the thickest part of the roast, ensuring it doesn’t touch any bone (though tri-tip typically doesn’t have bone). We’re going to cook the roast until it reaches an internal temperature of about 110-115 degrees Fahrenheit (43-46 degrees Celsius) for medium-rare. This can take anywhere from 60 to 90 minutes, depending on your oven and the roast’s thickness. Keep an eye on that thermometer!
3. The Searing Stage – Building the Crust
Once the roast has reached the target internal temperature, carefully remove it from the oven. Now comes the crucial searing step to create that irresistible crust. Heat a cast-iron skillet or a heavy-bottomed pan over high heat. Add the olive oil. You want this pan to be screaming hot – you’ll know it’s ready when the oil shimmers and just begin extracts to smoke. Carefully place the tri-tip into the hot skillet and sear for 1-2 minutes per side, including the edges, until a deep, golden-brown crust has formed. This high-heat sear locks in the juices and adds incredible flavor.
4. Resting is Key
This is arguably the most important step after cooking. Transfer the seared tri-tip to a clean cutting board and tent it loosely with foil. Let it rest for at least 10-15 minutes. This allows the juices to redistribute throughout the meat, ensuring every slice is moist and tender. If you skip this step, all those delicious juices will run out onto your cutting board, leaving you with a drier roast.
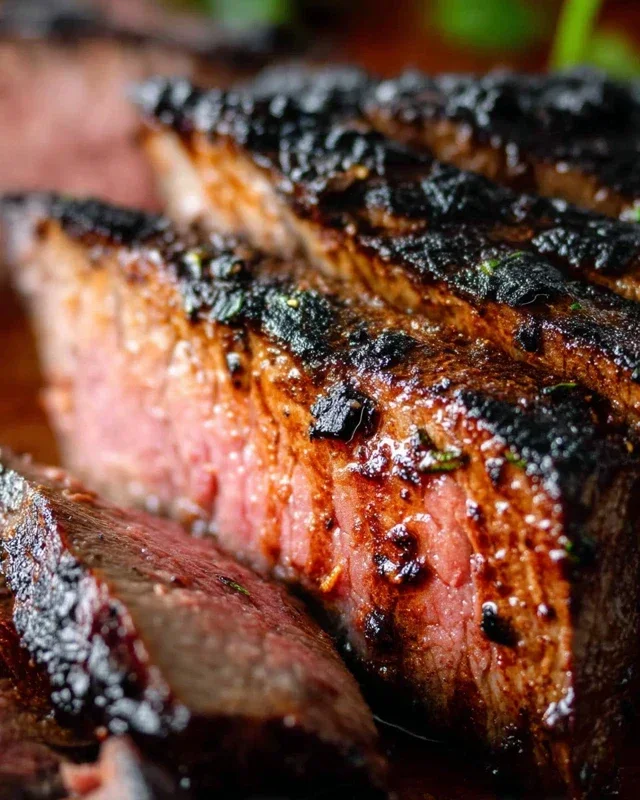
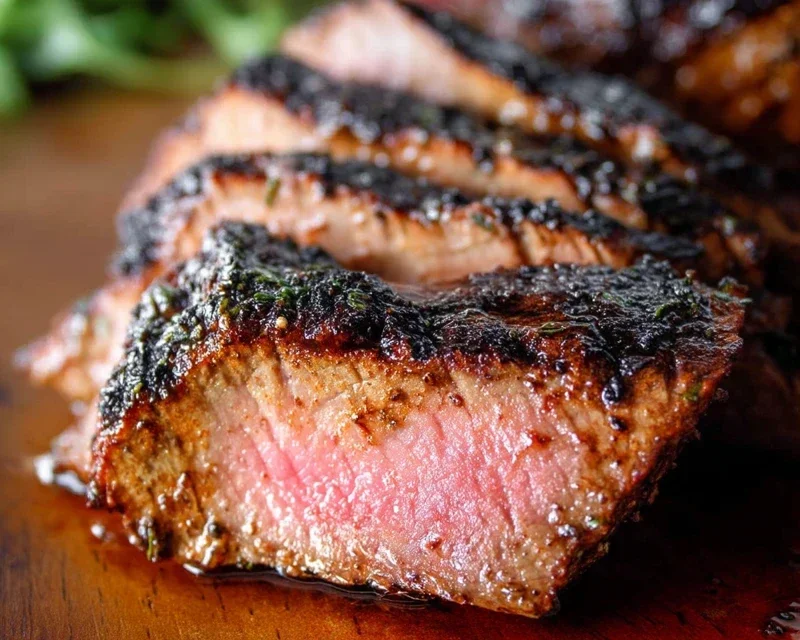
5. Slice and Serve
After resting, slice the tri-tip against the grain. The grain will likely run in different directions on the roast, so pay attention to identify the direction of the muscle fibers. Slicing against the grain is what makes even a tougher cut of meat tender. Serve immediately and enjoy the fruits of your patient labor!
Method 2: The Marinated Grilled Tri-Tip – For Smoky Flavor
If you’re a fan of grilling and love that unmistakable smoky char, this method is for you. A simple marinade infuses the tri-tip with flavor before it hits the grill for a quick, high-heat cook.
Preparation for Grilled Tri-Tip
1. Marinate for Flavor
In a large bowl or a resealable plastic bag, combine the olive oil with all the seasonings: garlic salt, Lawry’s seasoning salt, kosher salt, black pepper, sugar, garlic powder, and parsley. Add the tri-tip roast and ensure it’s fully coated in the marinade. Marinate in the refrigerator for at least 2 hours, or preferably for 4-6 hours, for maximum flavor penetration.
2. Prepare the Grill
Preheat your grill to medium-high heat. You’ll want to create two heat zones on your grill: a direct heat zone (where the coals or burners are directly under the cooking grates) and an indirect heat zone (where there are no coals or burners directly under the grates). This will allow us to sear and then finish cooking the roast gently.
3. Sear and Grill
Remove the tri-tip from the marinade, letting any excess drip off. Place the marinated tri-tip on the direct heat side of the grill. Sear for about 3-4 minutes per side, until a nice crust forms. Then, move the roast to the indirect heat side of the grill. Close the lid and continue to cook until the internal temperature reaches your desired doneness. For medium-rare, aim for 125-130 degrees Fahrenheit (52-54 degrees Celsius). This stage can take about 15-25 minutes, so use your meat thermometer!
4. Rest and Slice
Just like with the reverse sear method, resting is crucial. Remove the tri-tip from the grill and let it rest on a cutting board, loosely tented with foil, for at least 10 minutes. This allows the juices to settle.
5. Serve Your Grilled Masterpiece
Slice the tri-tip against the grain for maximum tenderness and serve. The grilled tri-tip will have a delicious smoky exterior and a juicy, flavorful interior.
Both of these methods showcase the versatility and deliciousness of tri-tip. Whether you prefer the perfectly even cook of the reverse sear or the bold char of the grilled version, you’re in for a treat. Enjoy!
Conclusion:
There you have it – two fantastic ways to prepare a delicious Tri Tip! Whether you prefer the smoky char of the grill or the comforting embrace of the oven, this cut of beef offers incredible flavor and tenderness that will impress any palate. I love how versatile Tri Tip is; it’s a crowd-pleaser for gatherings and a satisfying meal for a weeknight. Its ability to absorb marinades and seasonings beautifully means endless flavor possibilities.
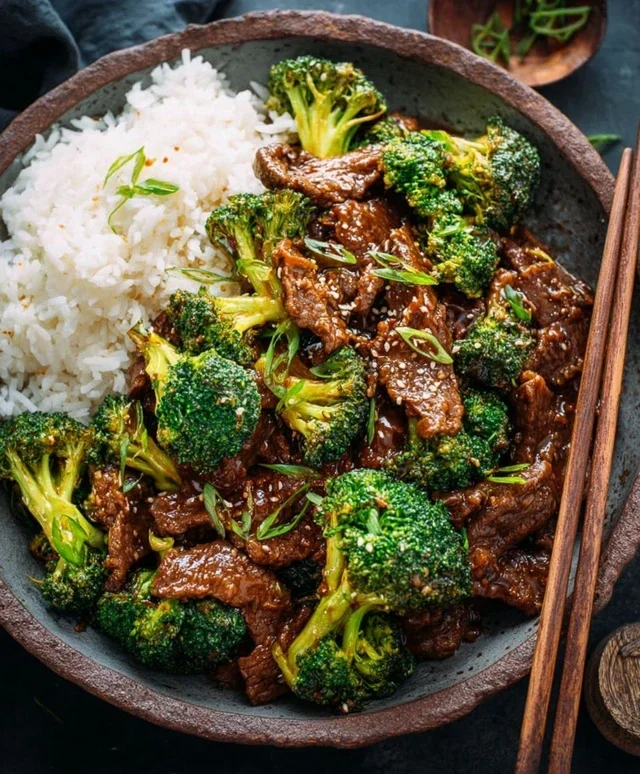
For serving, I highly recommend pairing this succulent Tri Tip with classic steakhouse sides like garlic mashed potatoes, roasted asparagus, or a vibrant Caesar salad. For a more casual vibe, consider slicing it thin for mouthwatering sandwiches or serving it over a bed of rice with your favorite sauce. Don’t be afraid to experiment with different marinades and rubs to put your own spin on these recipes!
I truly encourage you to give these Tri Tip preparations a try. You’ll be amazed at how simple it is to achieve restaurant-quality results in your own kitchen. Happy cooking!
Frequently Asked Questions:
Q: What’s the best way to ensure my Tri Tip is cooked to the perfect temperature?
A: Using a meat thermometer is your best friend! For medium-rare, aim for an internal temperature of 130-135°F (54-57°C) for a medium-rare finish. Always remember to let your Tri Tip rest for at least 10-15 minutes after cooking before slicing to allow the juices to redistribute, ensuring maximum tenderness and flavor.
Q: Can I marinate the Tri Tip overnight?
A: Absolutely! Marinating Tri Tip overnight is highly recommended for deeper flavor penetration. Just ensure your marinade is well-balanced and doesn’t contain too many acidic ingredients, which can sometimes make the meat mushy if left for extended periods. A good 8-12 hours is usually perfect.
Tri Tip (2 Ways)
A versatile tri tip roast prepared with two distinct flavor profiles: a classic seasoned roast and a simple salt and pepper preparation.
Ingredients
-
2 & 1/2 pound tri tip roast
-
1 & 1/2 teaspoons garlic salt
-
1 tablespoon Lawry’s seasoning salt
-
1 & 1/2 teaspoons kosher salt (Diamond Crystal)
-
1 teaspoon black pepper
-
1/2 teaspoon sugar
-
2 teaspoons garlic powder
-
1 tablespoon dried or fresh parsley
-
1/4 cup olive oil
Instructions
-
Step 1
For the seasoned tri tip: In a small bowl, combine Lawry’s seasoning salt, garlic salt, garlic powder, sugar, and parsley. Mix well. -
Step 2
Rub the seasoned mixture generously over the entire surface of the tri tip roast. -
Step 3
For the salt and pepper tri tip: In a separate small bowl, combine kosher salt and black pepper. Mix well. -
Step 4
Rub the salt and pepper mixture generously over the entire surface of the second tri tip roast. If preparing only one, use this rub on the first roast. -
Step 5
Preheat your grill or oven to 400°F (200°C). For grilling, sear the roast on all sides over high heat, then move to indirect heat. For oven, place on a baking sheet. -
Step 6
Cook for approximately 15-20 minutes per pound, or until the internal temperature reaches your desired doneness (130°F for medium-rare, 135°F for medium). -
Step 7
Remove the roast from the heat and let it rest for at least 10-15 minutes before slicing against the grain.
Important Information
Nutrition Facts (Per Serving)
It is important to consider this information as approximate and not to use it as definitive health advice.
Allergy Information
Please check ingredients for potential allergens and consult a health professional if in doubt.