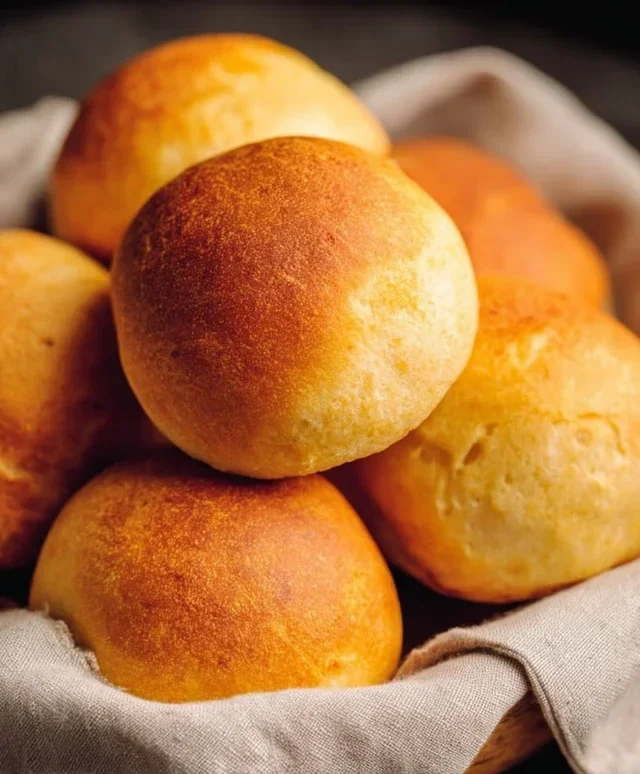
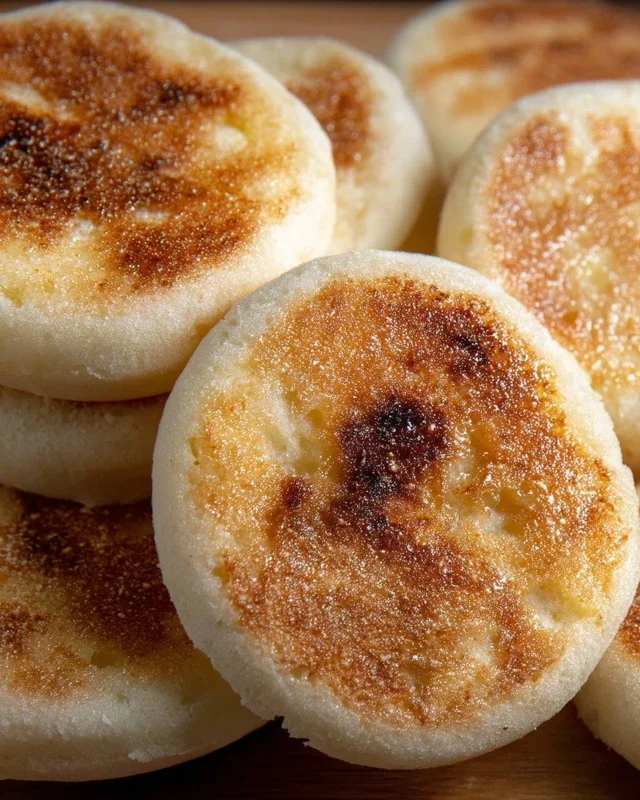
Easy Keto Buns-Fluffy Low Carb Bread Rolls
Easy Keto Buns are about to become your new best friend in the kitchen, especially if you’re navigating the delicious world of low-carb living. For so long, the idea of a warm, fluffy bun felt like a distant, unattainable dream on a ketogenic diet. We’ve all been there, right? Staring longin extractgly at sandwiches and burgers, wishing for that perfect vessel to hold all our favorite fillings. Well, wish no more! These easy keto buns shatter those limitations, offering a taste and texture that is astonishingly close to their traditional, carb-laden counterparts. What makes them truly special is their incredible versatility and the sheer simplicity of their preparation. You don’t need a degree in baking or a pantry full of exotic ingredients. Just a few common keto staples are all it takes to create these delightful, guilt-free buns that will elevate your everyday meals and satisfy those persistent bread cravings. Prepare to be amazed!
Easy Keto Buns
If you’re following a ketogenic diet, you know how much you can miss out on. Bread, in particular, is often a big no-no, leaving you craving those satisfying textures and versatile uses of traditional buns. Well, I’m here to tell you that you don’t have to miss out any longer! These Easy Keto Buns are a game-changer, offering a delicious and incredibly simple solution for all your bun needs. Whether you’re making burgers, sandwiches, or just want a side to dip in your favorite soup, these keto buns are going to be your new best friend. They’re surprisingly light, hold their shape beautifully, and have a subtle cheesy flavor that complements everything. Forget those store-bought alternatives that taste like cardboard – these are the real deal, and they’re so easy to whip up, you’ll be making them on repeat.
Ingredients:
*Notes on Cheese: For best results, I highly recommend using low-moisture, whole-milk mozzarella cheese. Pre-shredded cheese can sometimes contain anti-caking agents that might affect the texture. If you have the time, shredding your own mozzarella from a block will yield superior results. You can also experiment with a blend of cheeses, such as cheddar or Monterey Jack, but be mindful that different cheeses have different moisture content and fat levels, which can subtly alter the final outcome. Avoid fresh mozzarella as it is too wet.
Cooking Instructions
The beauty of these keto buns lies in their simplicity. There’s no complicated kneading, no lengthy proofing times, just a straightforward process that results in wonderfully satisfying buns. Let’s get started!
Preparation is Key
Before you even think about mixing ingredients, it’s crucial to preheat your oven and prepare your baking sheet. Preheat your oven to 375 degrees Fahrenheit (190 degrees Celsius). This consistent temperature is vital for ensuring your buns bake evenly and develop a lovely golden-brown crust. Line a baking sheet with parchment paper. This prevents the buns from sticking and makes cleanup a breeze. You can also use a silicone baking mat. If you plan on making larger buns, you might need two baking sheets to avoid overcrowding, which can lead to uneven baking.
Step 1: Melting the Cheesy Base
In a medium microwave-safe bowl, combine your 3 cups of shredded mozzarella cheese and 2 ounces of cream cheese. Microwave this mixture in 30-second intervals, stirring well after each interval, until both cheeses are completely melted and smooth. Be patient with this step; you want a homogenous, creamy cheese mixture to form the foundation of your buns. Overheating can cause the cheese to become oily, so it’s better to under-heat and stir than to overheat and have to contend with separating oils. Once melted, let the mixture cool slightly for a minute or two. This slight cooling prevents the eggs from scrambling when you add them in the next step.
Step 2: Incorporating the Dry Ingredients and Eggs
Once your cheese mixture has cooled slightly, it’s time to add the other ingredients. Gently whisk in the 3 large eggs, one at a time, until they are fully incorporated into the cheesy base. Make sure each egg is well blended before adding the next. Next, add 1 3/4 cups of almond flour and 1 tablespoon of baking powder to the bowl. Stir everything together until a cohesive dough forms. It will be a sticky, somewhat elastic dough, which is perfectly normal for keto baking. Don’t be tempted to add more almond flour than specified, as this can make the buns dry. The baking powder is what gives them their lift and light texture.
Step 3: Forming and Baking Your Buns
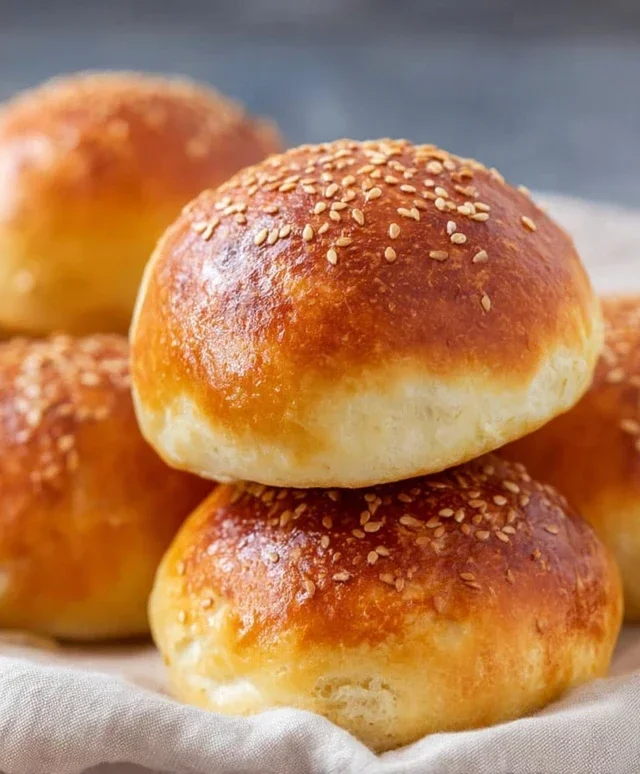
Now for the fun part – forming the buns! Lightly dampen your hands with water or a little oil to prevent the dough from sticking. Scoop out portions of the dough, about the size of a golf ball, and gently roll them into smooth balls. Place these dough balls onto your prepared baking sheet, leaving a little space between each bun. You can flatten them slightly with your palm if you prefer a flatter bun, or leave them as round balls for a more traditional bun shape. For this recipe, I usually get about 8-10 buns.
Step 4: Baking to Golden Perfection
Place the baking sheet into your preheated oven. Bake for 18-22 minutes, or until the buns are beautifully golden brown on top and firm to the touch. The exact baking time can vary depending on your oven and the size of your buns, so keep an eye on them, especially during the last few minutes. You’re looking for a lovely, slightly crisp exterior. If you poke one gently, it should spring back.
Step 5: Cooling and Enjoying Your Keto Creation
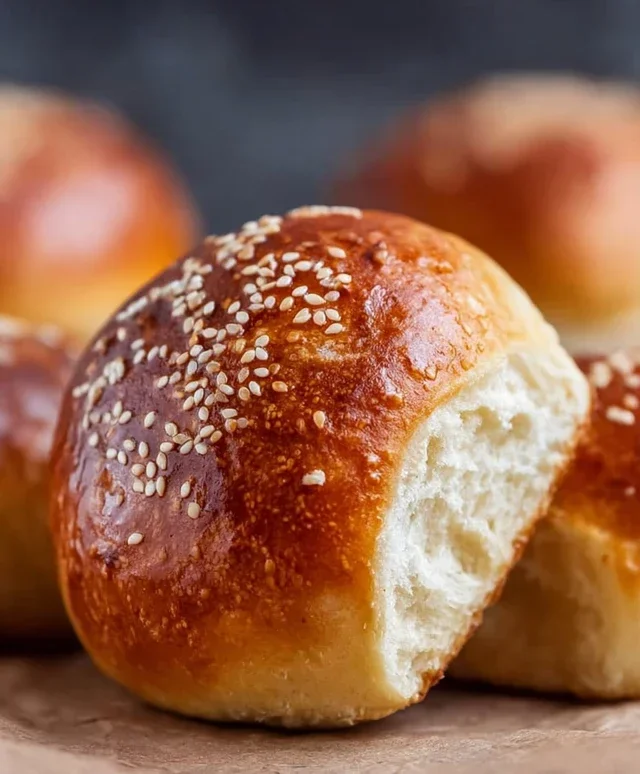
Once baked to perfection, carefully remove the buns from the oven. Let them cool on the baking sheet for about 5-10 minutes before transferring them to a wire rack to cool completely. While they are still delicious when warm, allowing them to cool fully will help them firm up even more, making them easier to slice and handle. These buns are best enjoyed fresh, but they can be stored in an airtight container at room temperature for a day or two, or in the refrigerator for up to a week. For longer storage, you can freeze them once completely cooled. Simply reheat in a toaster oven or a warm oven for a few minutes to bring back their delightful texture. Enjoy your homemade, guilt-free keto buns! They are truly a revelation for anyone on a low-carb lifestyle.
Conclusion:
I hope you’ve enjoyed learning how to make these incredibly simple and delicious Easy Keto Buns! These buns are a game-changer for anyone following a ketogenic lifestyle, offering a satisfying bread-like experience without the carbs. Their versatility is truly remarkable; they bake up with a lovely golden-brown crust and a soft, fluffy interior, making them perfect for a wide range of uses. Whether you’re craving a classic burger bun, a slider roll, or a base for your favorite sandwiches, these keto buns deliver.
To serve, I love using them for my morning avocado toast, as a side for hearty soups and stews, or of course, for constructing the ultimate keto burger. For variations, feel free to experiment with adding herbs like rosemary or chives into the dough for extra flavor, or sprinkle some sesame seeds on top before baking for a delightful crunch. Don’t be afraid to make a batch ahead of time – they store wonderfully in an airtight container at room temperature for a few days, or can be frozen for longer storage. I truly encourage you to give this recipe a try; you might be surprised at how easy it is to achieve such fantastic results!
Frequently Asked Questions:
What makes these keto buns so easy?
The ease of this recipe comes from its minimal ingredient list and straightforward mixing process. There’s no yeast activation or lengthy proofing times, making it a quick and begin extractner-friendly option for homemade keto bread.
Can I make these buns dairy-free?
Yes, absolutely! You can easily make these dairy-free by substituting the butter with a plant-based butter alternative or coconut oil, and using unsweetened almond milk or another plant-based milk instead of regular milk.
How should I store the keto buns?
Store your cooled keto buns in an airtight container at room temperature for up to 3-4 days. For longer storage, you can freeze them individually wrapped in plastic wrap and then placed in a freezer-safe bag for up to 2-3 months. Simply thaw at room temperature or reheat gently in a toaster oven.
Easy Keto Buns
Quick and simple keto-friendly buns made with cheese and almond flour.
Ingredients
-
3 cups shredded mozzarella cheese
-
2 ounces cream cheese
-
1 3/4 cups almond flour
-
1 tablespoon baking powder
-
3 large eggs
Instructions
-
Step 1
Preheat oven to 350°F (175°C). Line a baking sheet with parchment paper. -
Step 2
In a microwave-safe bowl, combine the shredded mozzarella cheese and cream cheese. Microwave in 30-second intervals, stirring in between, until fully melted and smooth. -
Step 3
In a separate bowl, whisk together the almond flour and baking powder. -
Step 4
Add the whisked dry ingredients and the eggs to the melted cheese mixture. Stir until a dough forms. It will be sticky. -
Step 5
Divide the dough into 6 equal portions and shape them into buns. Place the buns on the prepared baking sheet. -
Step 6
Bake for 15-20 minutes, or until golden brown and firm to the touch.
Important Information
Nutrition Facts (Per Serving)
It is important to consider this information as approximate and not to use it as definitive health advice.
Allergy Information
Please check ingredients for potential allergens and consult a health professional if in doubt.