Mini Cannoli Cups-Delicious Italian Dessert Bites
Mini cannoli cups are about to become your new favorite dessert obsession! Forget the fuss of rolling dough and deep-frying; we’re bringin extractg you a delightfully simple way to enjoy all the iconic flavors of traditional cannoli without the traditional effort. There’s something undeniably charming about these bite-sized treats. The irresistible combination of a crisp, sweet shell and a creamy, rich filling is a classic for a reason, and we’ve perfected it into an easily shareable, incredibly satisfying package. What makes these mini cannoli cups truly special is their adaptability. While we’re sharing our favorite classic ricotta filling, these cups are a blank canvas for your creativity. Imagin extracte them adorned with fresh berries, drizzled with chocolate, or even infused with a hint of citrus. Get ready to impress yourself and your loved ones with these utterly delicious mini cannoli cups!
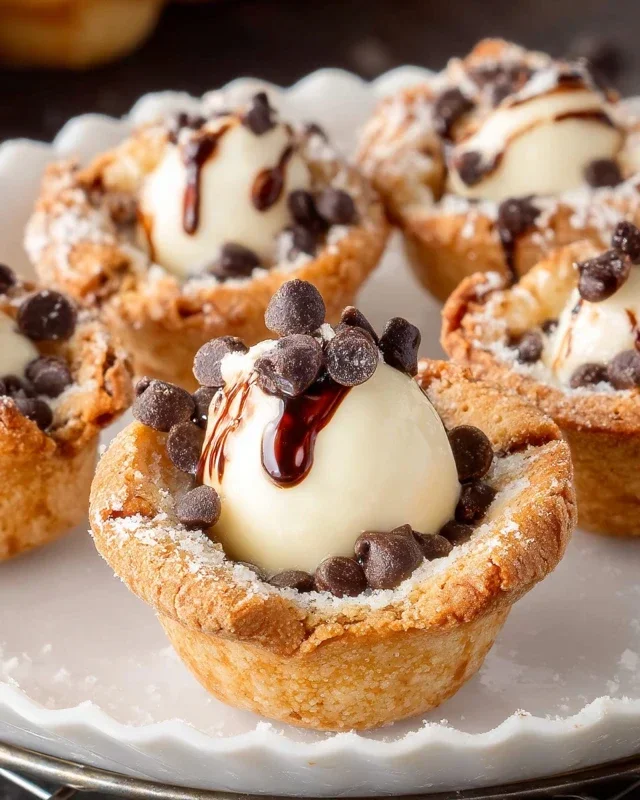
Mini Cannoli Cups
Who says you need special equipment to enjoy the delightful crispness of a cannoli shell and the creamy sweetness of its filling? With just a few pantry staples and some clever shortcuts, we can create adorable Mini Cannoli Cups that capture all the classic flavors of their larger, more intimidating cousins. These are perfect for parties, a sweet treat after dinner, or even a fun baking project with the kids. The beauty of these mini versions is their ease of assembly and the satisfying crunch of the pie crust “shell.”
Ingredients:
Instructions:
Prepare the Cannoli Filling:
Create the Cannoli Shells:
Bake and Assemble:
Conclusion:
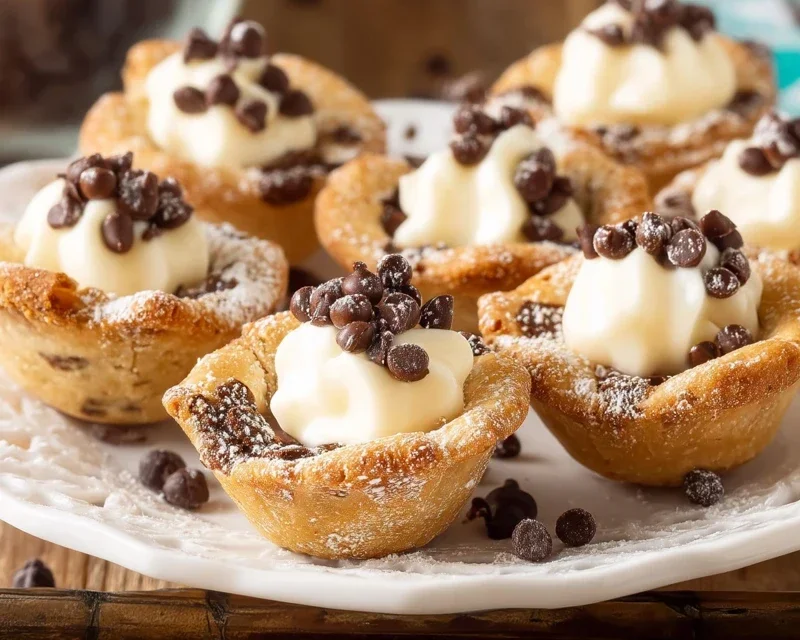
And there you have it! These Mini Cannoli Cups are an absolute delight. They’re a fantastic way to enjoy the classic cannoli flavor without the fuss of rolling and frying traditional shells. The crispy, buttery pastry cups paired with the creamy, sweet ricotta filling are simply irresistible. Whether you’re hosting a party, looking for a sophisticated dessert for a dinner gathering, or just craving a homemade treat, these mini wonders are sure to impress. They’re also wonderfully versatile, allowing for endless creative possibilities!
I love serving these as a beautiful dessert after a big meal, or even as a special weekend treat with a cup of coffee. For a touch of elegance, dust them with powdered sugar or drizzle with a little melted chocolate. Consider adding mini chocolate chips, chopped pistachios, or even a hint of orange zest to the ricotta filling for exciting variations. I truly encourage you to give these Mini Cannoli Cups a try – I have a feeling they’ll become a new favorite in your recipe repertoire.
Frequently Asked Questions:
Can I make the pastry cups ahead of time?
Absolutely! The pastry cups can be baked a day or two in advance and stored in an airtight container at room temperature. Just be sure they are completely cooled before storing to maintain their crispness.
How should I store the filled Mini Cannoli Cups?
For the best texture, I recommend filling the cups just before serving. If you need to prepare them slightly ahead, store the filled cups in the refrigerator in an airtight container. The filling might soften the pastry slightly, but they’ll still be delicious!
What other fillings can I use besides ricotta?
While ricotta is traditional, feel free to experiment! A cream cheese-based filling, a mascarpone cream, or even a stabilized whipped cream can be delicious alternatives. Just ensure your filling is firm enough to hold its shape.
Mini Cannoli Cups
A quick and easy dessert featuring crispy pie crust cups filled with a creamy ricotta filling, perfect for parties or a sweet treat.
Ingredients
-
1 container whole-milk ricotta cheese (15 oz., drained)
-
1/2 cup powdered sugar
-
2 tablespoons granulated sugar
-
1 teaspoon finely grated orange zest
-
1/2 teaspoon vanilla extract
-
1 box refrigerated pie crusts (2 count)
-
3 tablespoons turbinado sugar
-
1 teaspoon ground cinnamon
-
1/4 cup miniature semisweet chocolate chips
Instructions
-
Step 1
Preheat oven to 375°F (190°C). Lightly grease a mini muffin tin. -
Step 2
Unroll pie crusts and cut into 24 (2-inch) circles. Press circles into the mini muffin cups. -
Step 3
Bake for 10-12 minutes, or until golden brown and crisp. Let cool completely in the tin before removing. -
Step 4
In a medium bowl, combine drained ricotta cheese, powdered sugar, granulated sugar, orange zest, and vanilla extract. Mix until smooth and creamy. -
Step 5
In a small bowl, combine turbinado sugar and cinnamon. Stir in chocolate chips. -
Step 6
Spoon or pipe the ricotta filling into the cooled pie crust cups. Sprinkle with the turbinado sugar and cinnamon mixture. -
Step 7
Dust with additional powdered sugar before serving, if desired.
Important Information
Nutrition Facts (Per Serving)
It is important to consider this information as approximate and not to use it as definitive health advice.
Allergy Information
Please check ingredients for potential allergens and consult a health professional if in doubt.